Have you ever tried arranging flowers on your own, only to realize you are not so Martha Stewart after all? We all know it could be tricky, and that’s why we chose to do some research on how we can make this easy for everybody! We went ahead and gathered what we think are a few of the most helpful recommendations to beautiful flower arrangements. And with fall on it’s way, we chose to also include pictures of several of the most adorable flower combinations to work with to the season. But keep in mind, fall does not just mean orange. In addition, we love reds, yellows, greens, whites, browns, and purples! So if you are making a centerpiece, present, or fragrance, then we’ve got all the tips you need for a gorgeous flower arrangement.
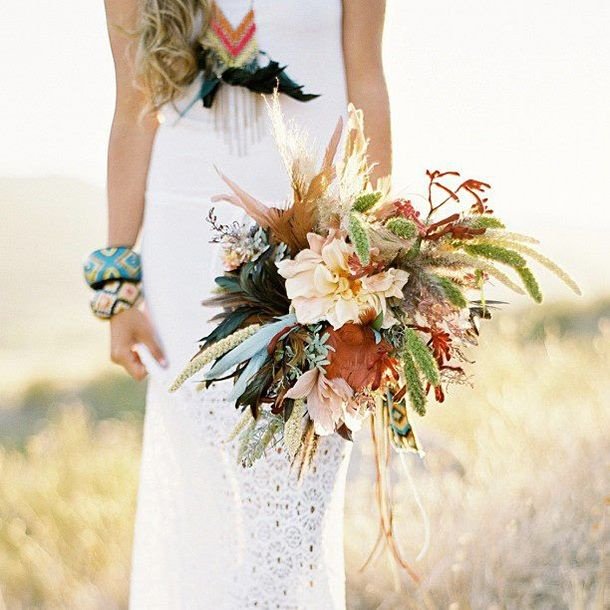
(image credit:Theperfectpalette)
1. When picking out what flowers to use, it’s important to not forget to be cautious of colours. In case you choose to create an arrangement that’s all orange for instance, pick up different colors of orange for variant. If you want multiple colors, try sticking to 2 or 3. You do not want the arrangement to seem overwhelming or cluttered.
2. In order to produce your flower arrangement feel much more natural, we suggest also picking up green foliage. (Stems, leaves, branches, etc..)
3. Are you having a vase to display your flowers? In that case, then when preparing your vase, make certain it is clean, and approximately 3/4 of how complete with lukewarm water. (Using too cold or hot of water can actually shock your blossoms, and that’s why we suggest lukewarm.)

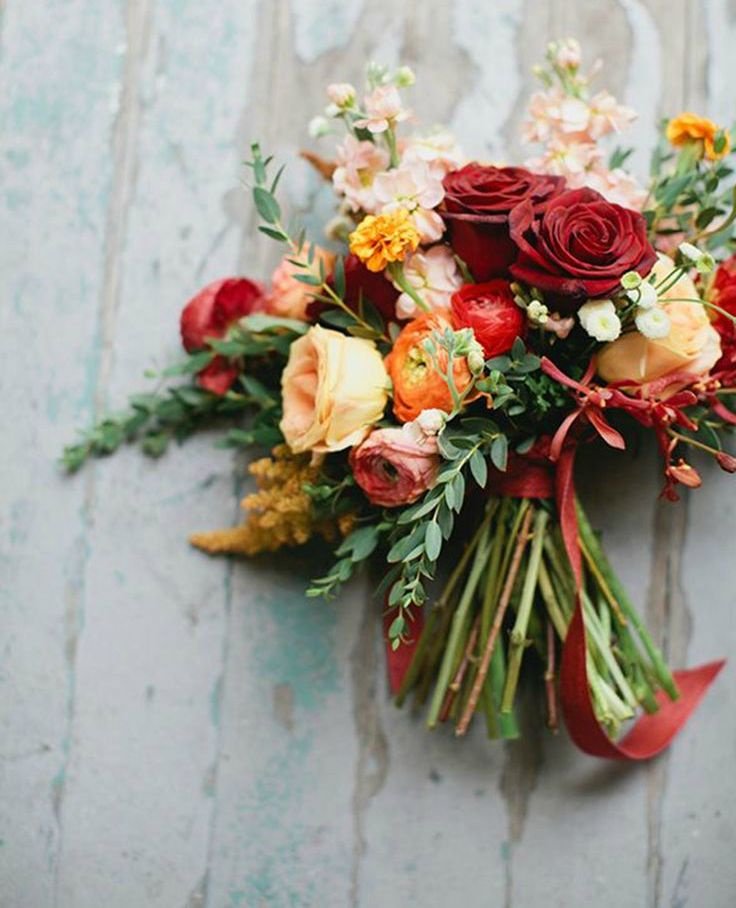
(picture credit: Bestbouquet)
4. To be able to make your flowers stay in place, make a grid throughout the top of your vase using transparent tape. “Tic-tac-toe” design works best.
5. Do not forget to cuts the stalks. Holding each bit of up your arrangement to the vase or next to another is the very best way to understand where to cut the stem.
6. Cutting at an angle works best since it allows more water to take in. Should you inadvertently bend a stem, then be sure to cut off that part, or water will not take in at all.
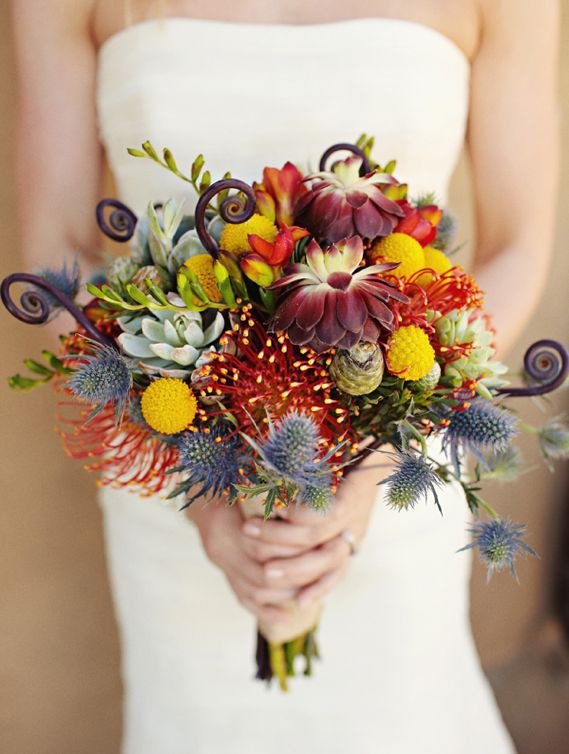
(image credit: Maison-deco)
7. Start your arrangement off with your tallest green foliage at the middle. Insert in at various angles and in layers. Work in a circular motion so that your structure is beautiful from every angle.
8. As soon as you have your desired amount, start placing on your”confront” blossoms. Face flowers, are the ones you’re looking to actually show off. They typically are likely to be what draws the eyes into the arrangement. A fantastic sum to add in is either 3 or 5. Odd numbers work best! Did you remember to cut the stems?
9. Add on your accent flowers. Accent flowers are smaller then confront blossoms, and while they include in beauty, aren’t a diversion from the face blossoms. If you’d like your arrangement to look as natural as you can, let these anchor out of your own arrangement.
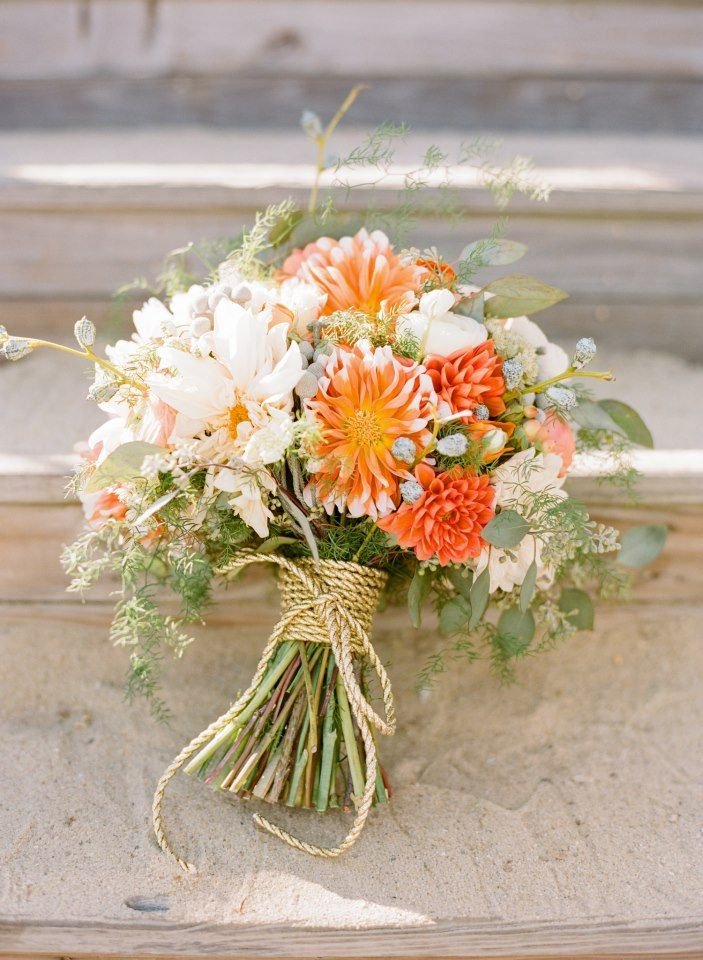
(image credit: Lovelylittledetails)
There you have it! You’re all set up to get a perfect flower arrangement. Move things around a little until it looks just right with you, and do not neglect to keep leaves out of the base of the vase, and to trim the stems and change the water daily to keep your flowers looking beautiful for as long as possible.