
We absolutely love the look and feel of handwriting. There is just something about a handwritten card, letter, notice or sign that feels so genuine. But in a time of everything digital, we’ve been feeling just like handwriting should be understood for the distinctive craft that it is. Lately, we have been discovering that calligraphy is making a huge appearance in the world of weddings and this also got us thinking about the way we can learn this fairly ability ourselves. So we did lots of research to discover helpful suggestions, and, of course, chose to discuss our findings with you! Check out the tips below and make sure to take a peek at some of our favorite ways to incorporate calligraphy in your wedding. We invite you to learn more about this craft, practice, and also please do not forget to talk with us how it goes! Plus do not forget to spread the word that January 23rd is National Handwriting Day!
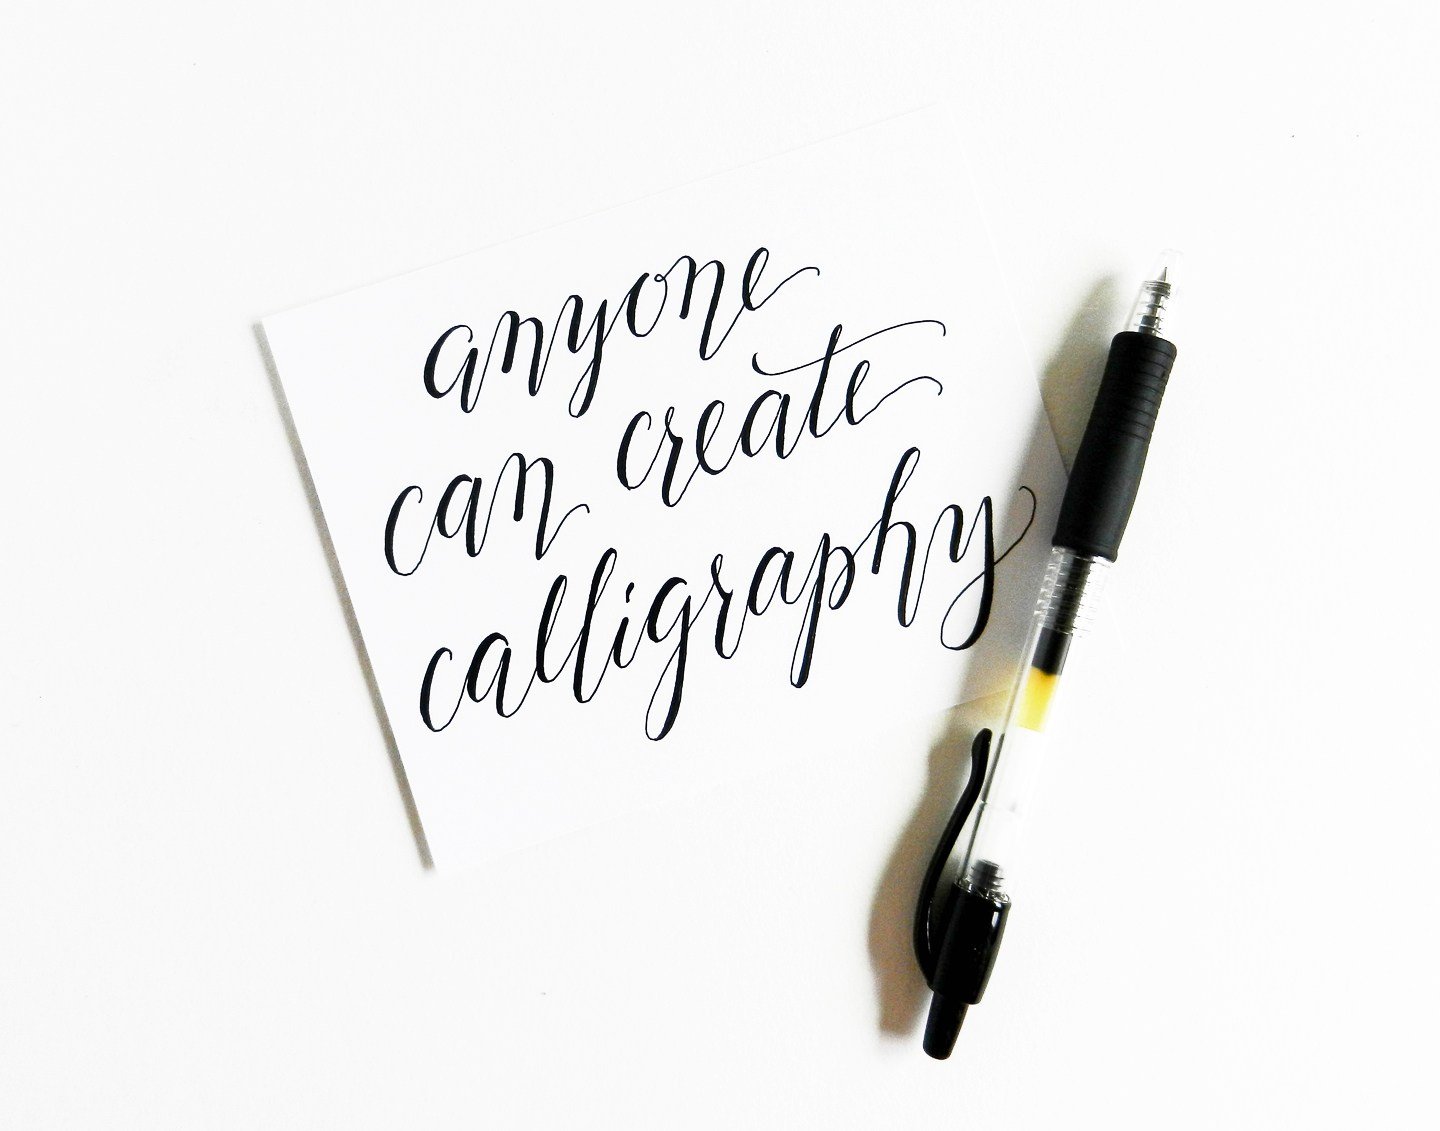
(image credit: Thepostmansknock)
Pick A Style That You Want to Practice
There are many styles of composing to pick from… seriously, just take a look at those examples!
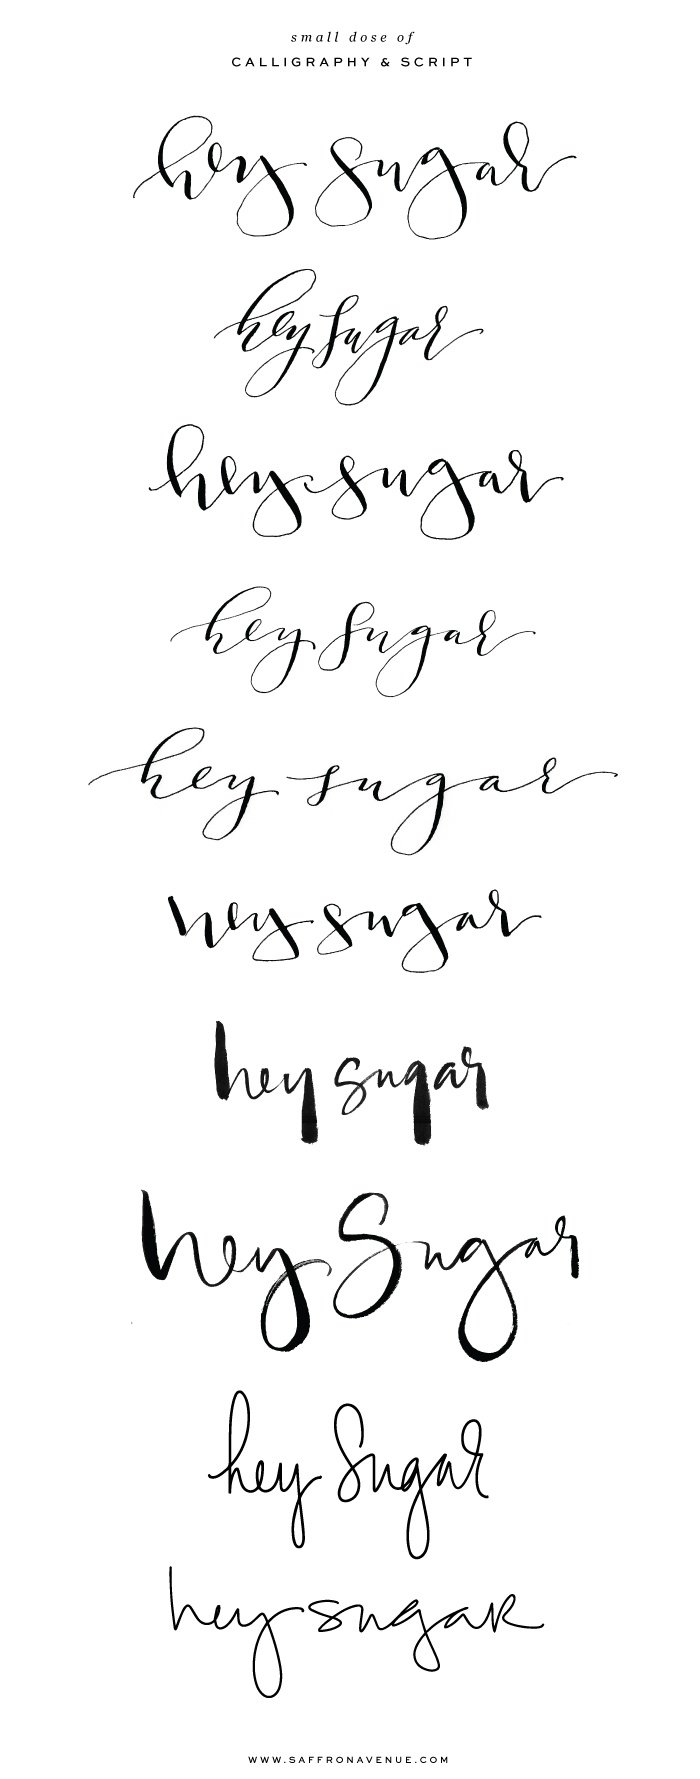
(picture credit: Saffronavenue)
When first starting out with learning calligraphy, we suggest picking a script style and sticking to practicing it for a while. Consider the way in elementary school you used to trace a letter and then write the exact same letter over and over again. It is the same concept here. The more you practice, the further you will easily have the ability to compose on your favourite script! And as soon as you get the hang of writing with this”calligraphy seem”, you will even be able to write with your own style.
Remember: Thin Up, Thick Down
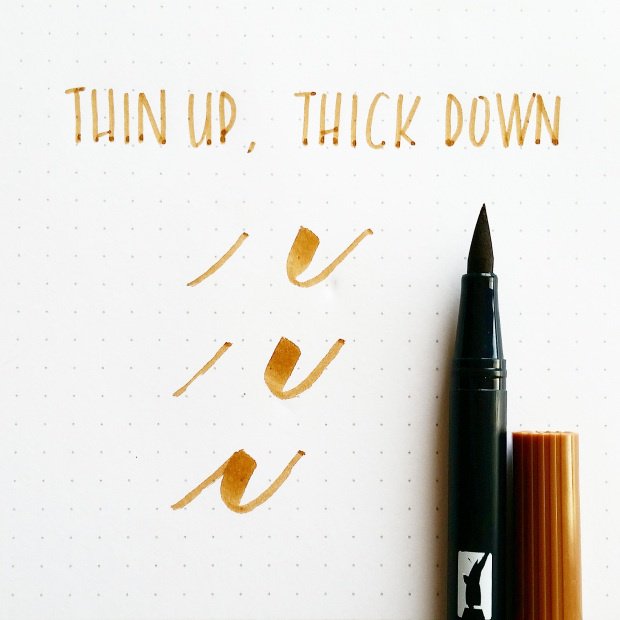
(image credit: Piecescalligraphy)
The key to having that”calligraphy look” is to utilize a thin stroke when composing upwards and a thick stroke when composing back. This is accomplished by holding the pencil at slightly different angles. See the gap above?
Try Starting with”Faux Calligraphy”

(picture credit: Pinterest)
For the hang of remembering when to use a thin or thick stroke, we propose trying what is called faux calligraphy. Faux calligraphy is if you compose each word with no strategy demanded. (Just try to use your prettiest cursive!) Then, return to the part of each letter which demanded a downward stroke and make it thicker by just going over the line .
The Very Best Nib, Nib Holder, & Ink For Beginners

(picture credit top to bottom: Paperinkarts, Juliabausenhardt, Juliabausenhardt)
Are you wondering exactly what nib, nib holder, and ink to begin learning calligraphy with? With such a huge array of alternatives on the market, we understand it may get tricky to understand what supplies to select. We did lots of research on what supplies are best to begin with and time and time again we came across exactly the same items. According to Julia Bausenhardt, that runs a blog about hand lettering and calligraphy, the Nikko G. nib is very good for beginners since it’s both reliable and sturdy. She also says you are going to want to start out with a right nib holder. This is simpler to get the hang of till you’re all set to start writing using a slant. So Far as ink, Julia claims to try India Ink or Sumi Ink.
Nib Basics
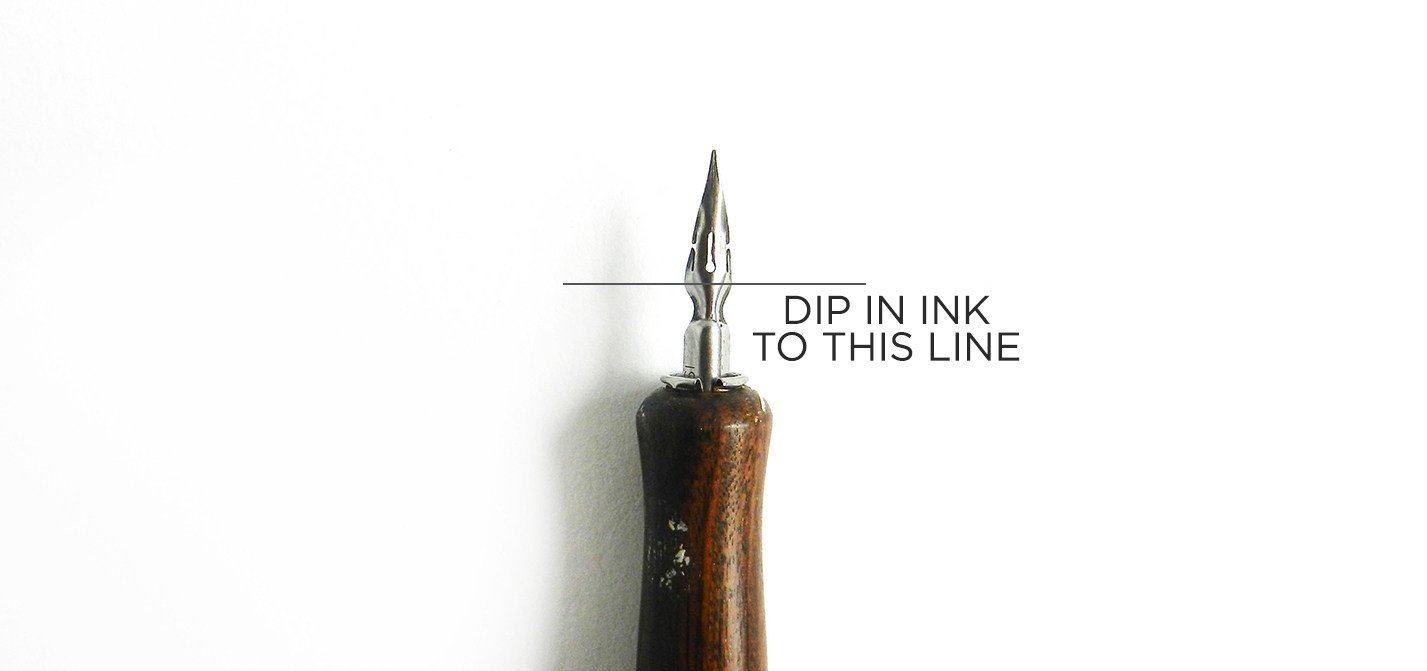
(image credit: Thepostmansknock)
As soon as you have the appropriate tools, you should probably know a little bit more about how they work. Think of this nib as the tip of a pen — it’s wherever your ink will probably be coming from. You’ll want to dip your nib in ink which goes just past the vent hole as required. Additionally, it is very important to maintain your nibs clean when not in use. When you are done writing, gently wash your nib with a dishwasher and dish soap to clean off any lingering ink. Make certain you wash it completely after scrubbing to avoid rust and store in a secure place like an old mint tin so that it will not get bent.
Paper Makes A Difference.
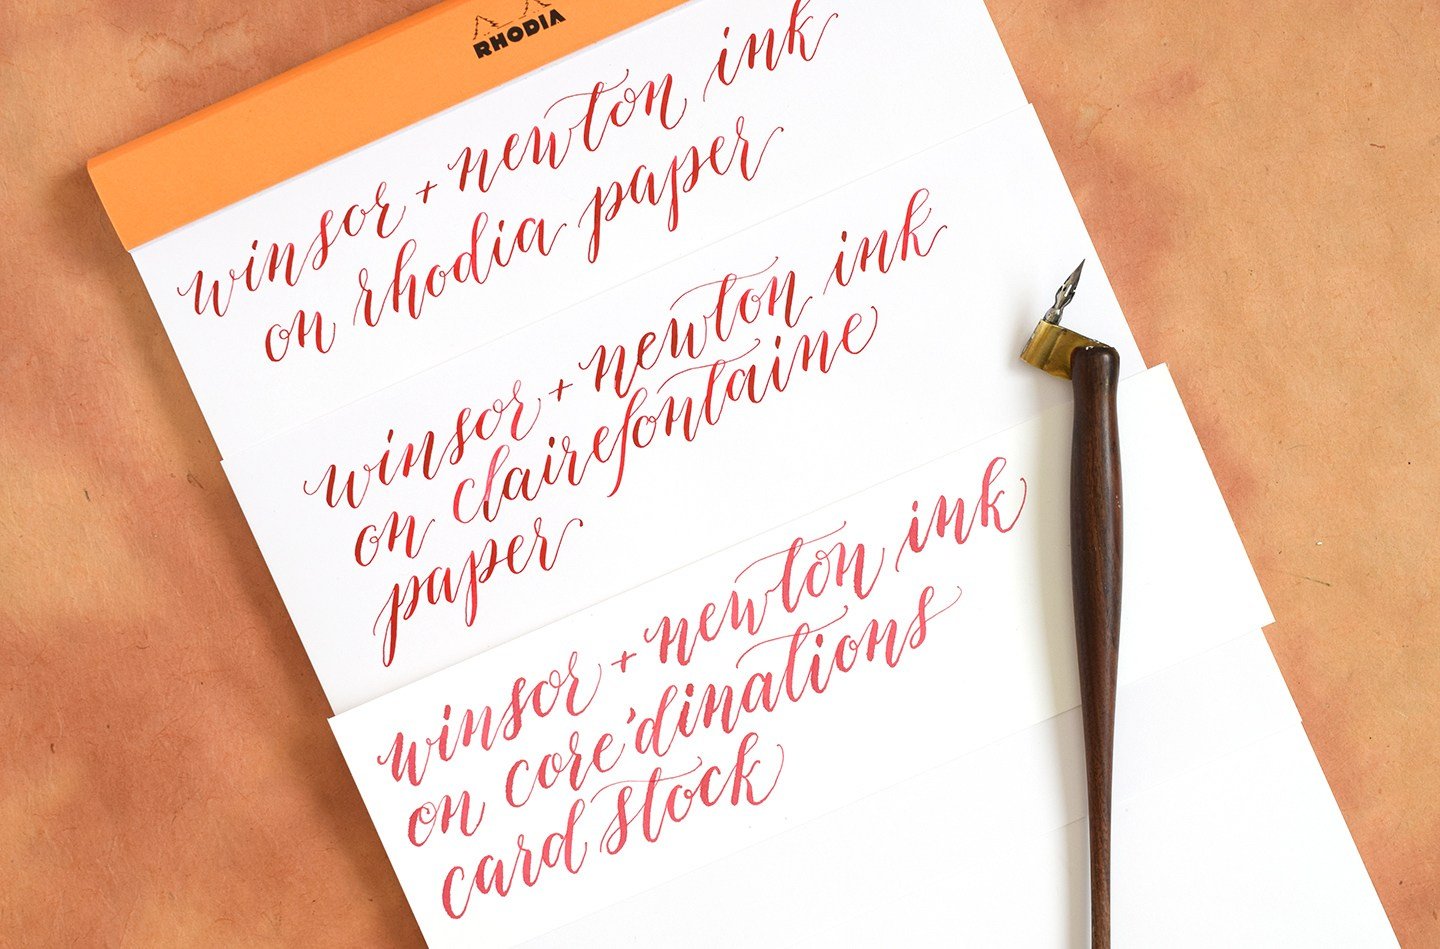
(image credit: Thepostmansknock)
In accordance with Lindsey Bugbee of The Postman’s Knock, selection of paper can make all the difference! Here she reveals an instance of paper in which her calligraphy looks smooth and sits on the surface (top) compared to calligraphy that was fuzzy looking after the ink soaked into the paper (underside ). She advocates using these papers for the best results.
- Georgia-Pacific Standard Recycled Paper
- HP #24 laserjet newspaper
- HP Number 32 laserjet newspaper
- Rhodia Pad
- Strathmore 300 Series Drawing Paper
With a little time, you will even have the ability to use calligraphy on nonpaper items such as stones, wood, and fruit! Practice makes perfect.
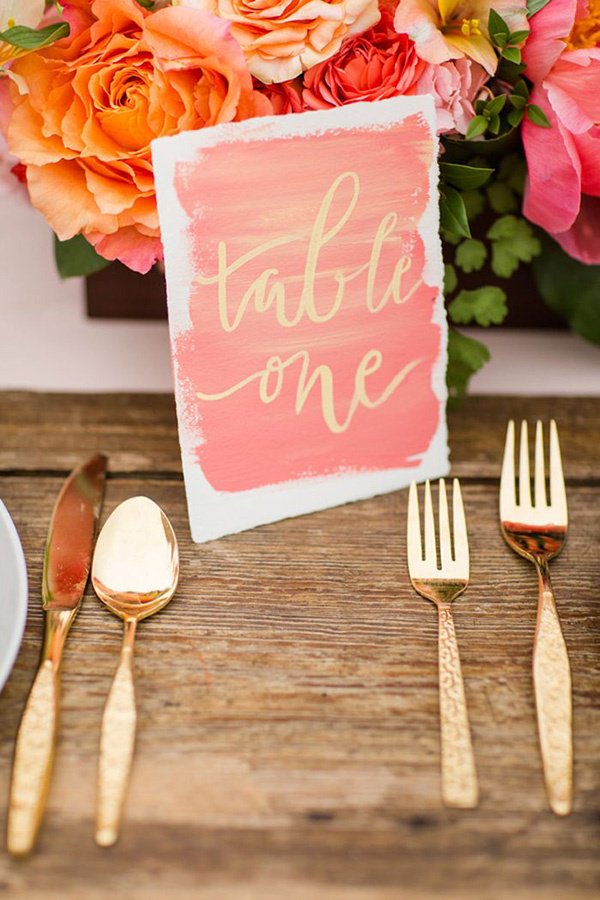
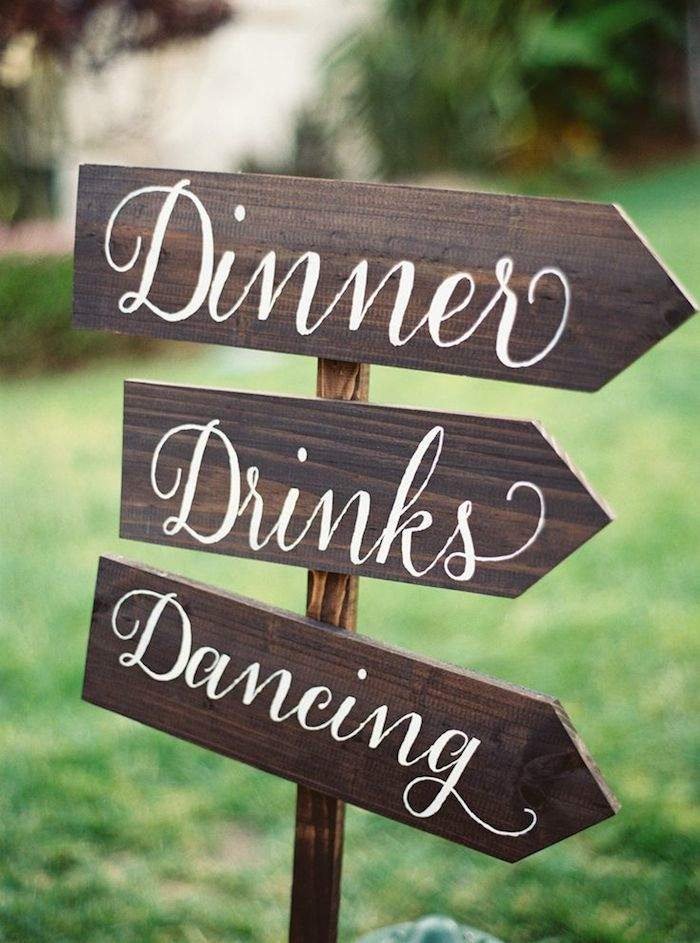
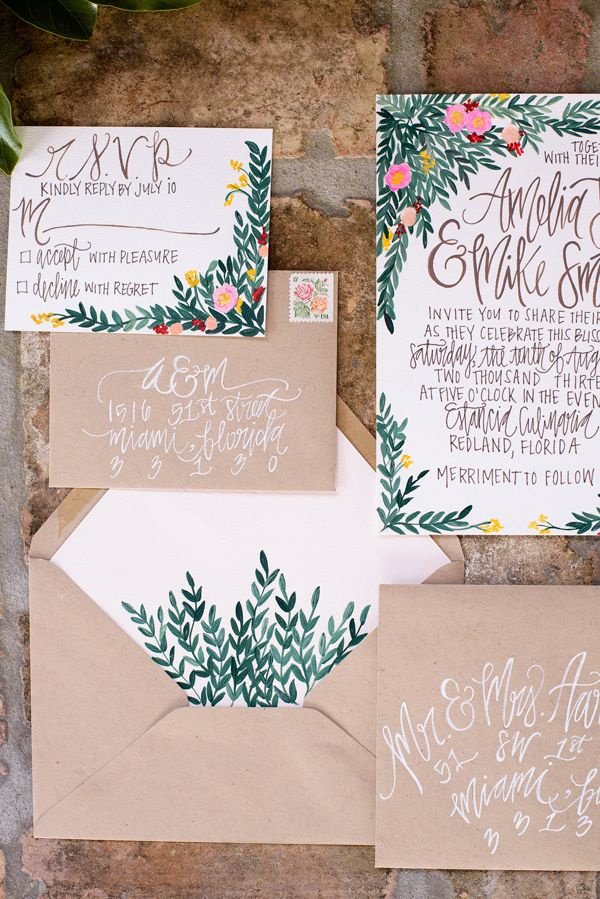
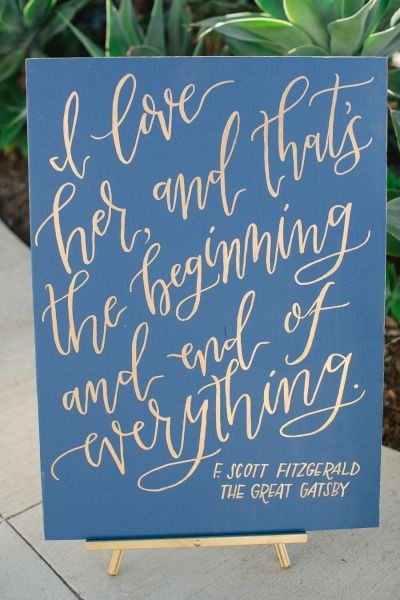
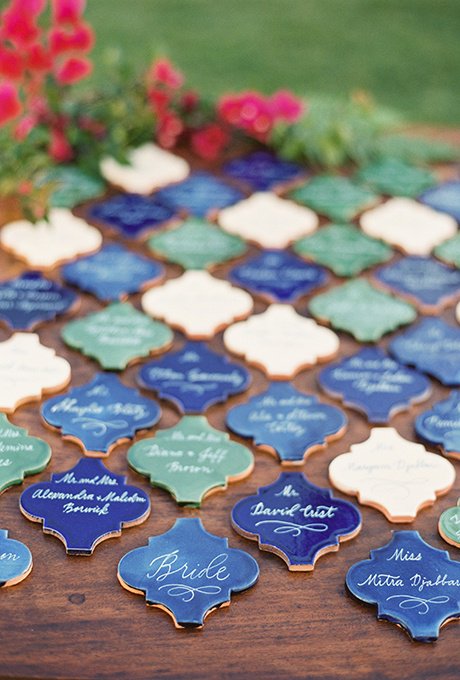
Tasks For Your Wedding
Now that you’ve practiced, there are loads of strategies to put your calligraphy skills to utilize. We are big on using calligraphy for wedding invitations, decorations, and more, so we chose to share a few of our favorites!
(image credit: Heyweddinglady)
(image credit: Stylemepretty)
(image credit: Modwedding)
(picture credit: Stylemepretty)

(picture credit: Greenweddingshoes)

(image credit: Pinterest)

(image credit: Greenweddingshoes)
(image credit: Brides)
Which of those ideas do you enjoy best? Are you reading to begin working on your calligraphy skills? We like to hear from our readers, so please feel free to leave us a comment below with your own thoughts! And do not forget to show us your completed calligraphy work!